One of the many benefits of being in the Soothe network is having the ability to control your schedule! You can take as many or as few appointments as you want.
We recommend setting up Instant Confirm, which automatically assigns appointments to you based on your preferred schedule. To avoid any potential scheduling conflicts, and increase your chance of additional earnings, please make sure to keep your Instant Confirm schedule up to date.
To set up Instant Confirm, follow the steps below:
- Log into the Soothe Provider App
- Open the Menu by tapping on the three lines in the upper left corner
- Select the Availability tab
- Toggle to the date you'd like to set up instant confirm
- Tap on + button and select Instant Confirm
- You now have the option to select either single or multiple date and time slots. Select your preferred start and end time for each day selected.
Single Date
Multiple Dates
- Set your appointment preferences.
Please note that appointment offers that fall within your Instant confirm availability are automatically assigned to your schedule. All Instant confirmed appointments will appear highlighted in blue on your calendar, alongside your availability blocks.
- Review and tap on the Save button.
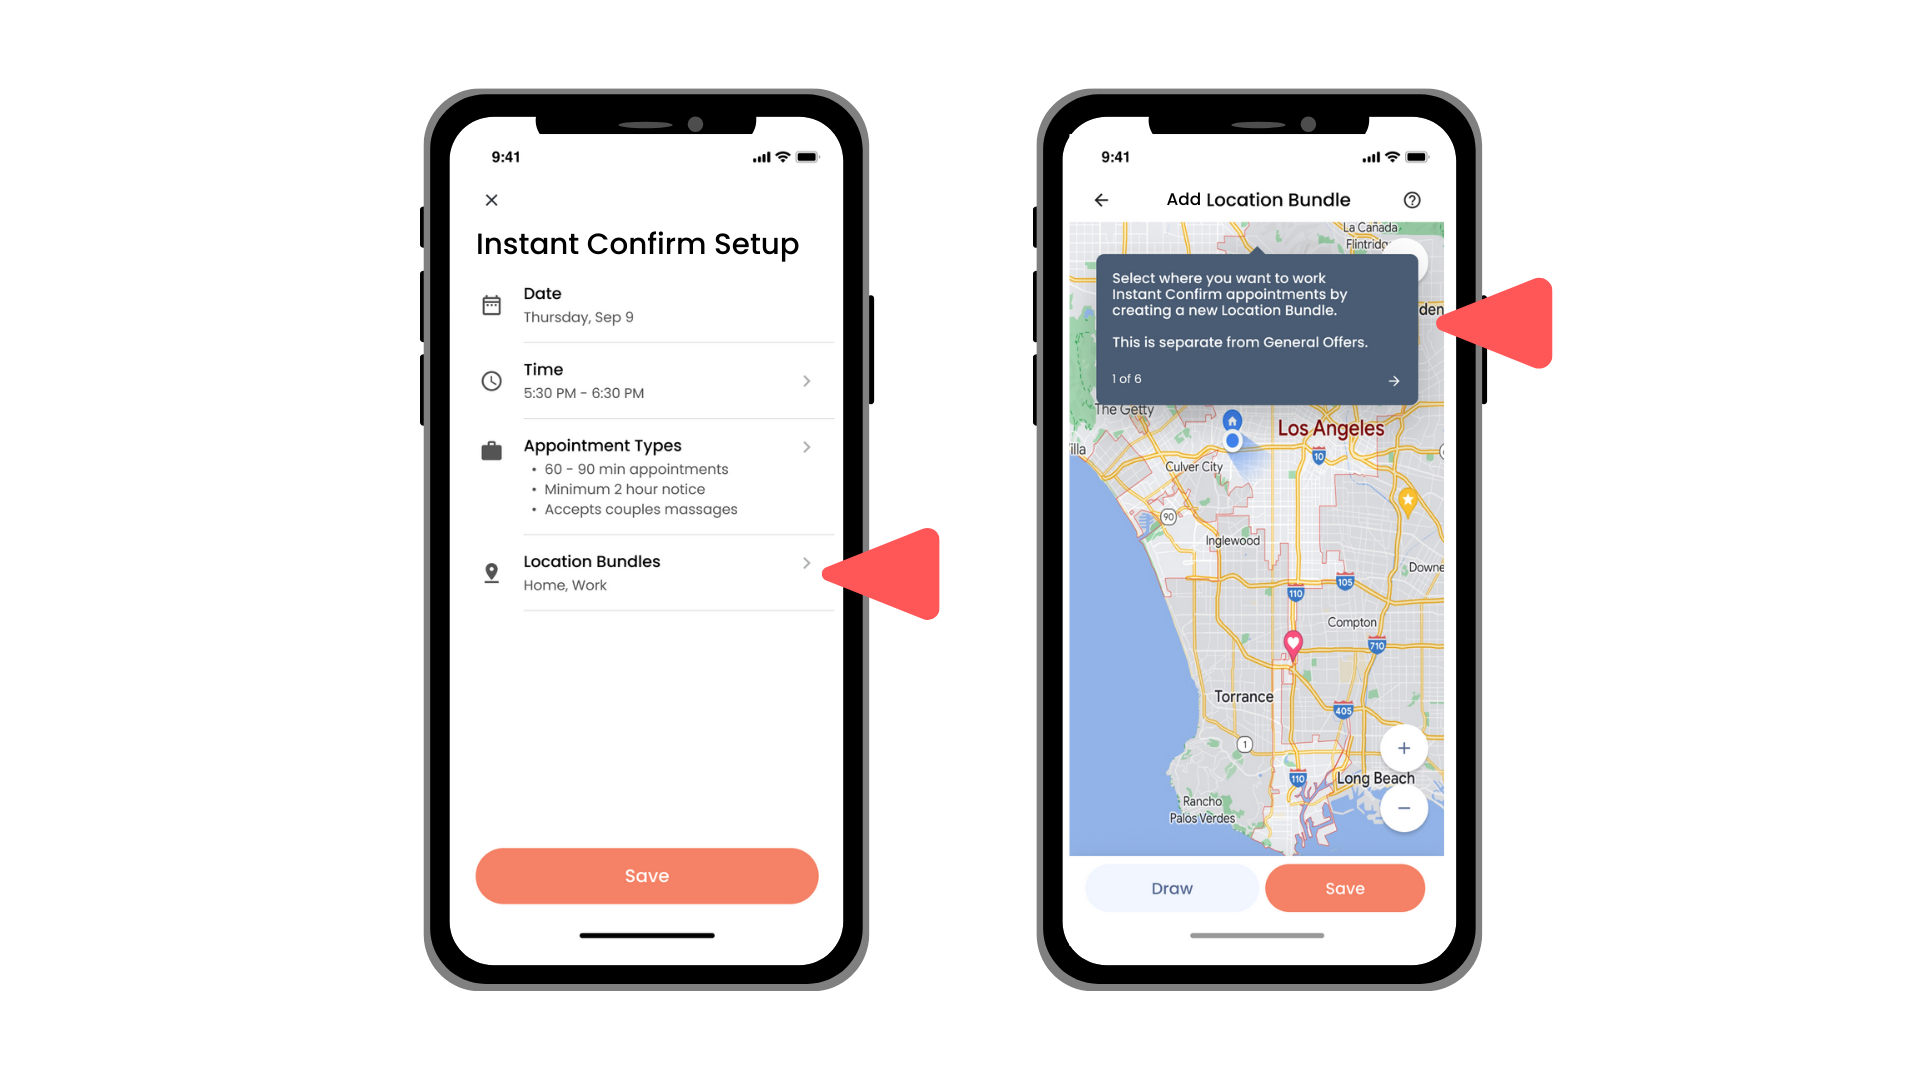
- Create your Location Bundles
If you prefer to not set up Instant Confirm at this time, you will still have the ability to accept and deny appointments as they come in.
Visit the Instant Confirm Tutorial in your account menu under the support section.